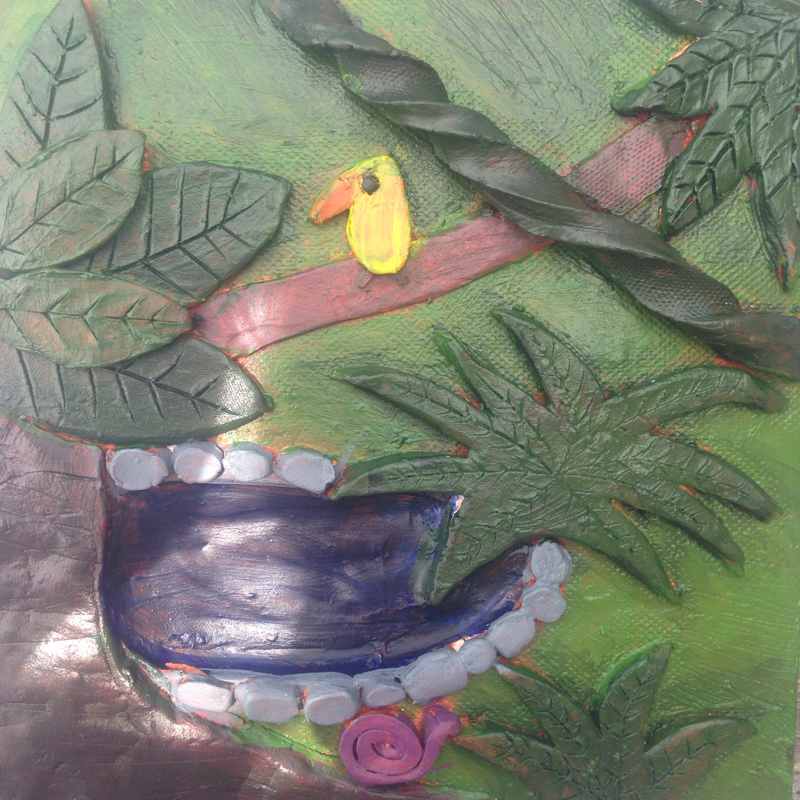
 For this clay tile project, I decided to sculpt the rainforest because that is my most favorite biome. The objective was to create a biome and then paint it. I decided to do a rain forest because I love all the animals that are there and all the greens that surround them. I enjoyed making this project because I was able to learn how to work with clay and make it into shapes that I wanted. I used all sorts of carving tools when sculpting the clay tile. So I was definitely able to gain skills when working with familiar materials. The only issue that would really come up was worrying about making the shapes too thick or not being able to sculpt it well because the clay was too hard and dry. I learned that there are three types of hand building; pinch, cool, and slab. I also learned how/why you are supposed to scratch and score. I took my teachers idea when I added layers to the leaves. I had lots of fun working on this project because I was able to incorporate two techniques that I learned this year which were sculpting and painting. 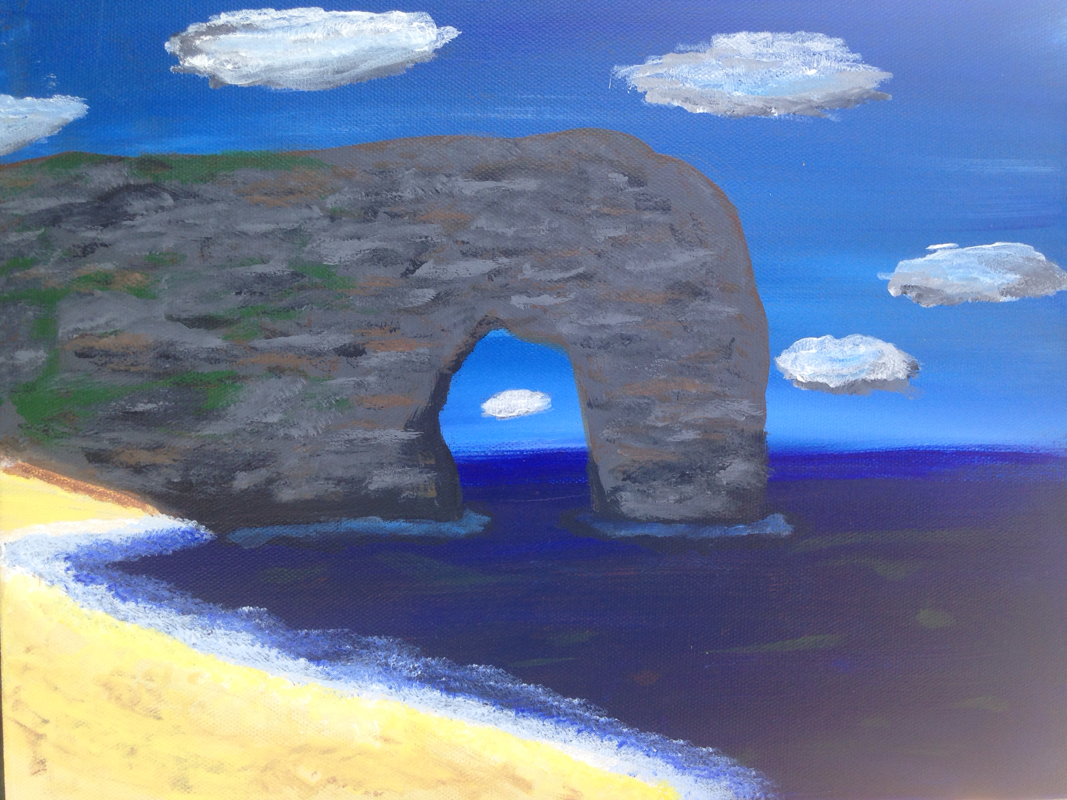 For this piece of artwork, I used summer as my source of inspiration. The movie "Grease" and the beach made me think to paint this. That rock/cliff was inspired by the movie "Grease" because that is where Sandy and Danny fell in love, at the beach. And that area had those kinds of big rocks around. New technique and processes that I learned were how to blend colors. I learned what primary, secondary, and tertiary colors were. As well as many other mixes of colors. I gained skills by learning what happens when you mix certain colors. I also learned that acrylic paint will not wash out in clothing. The biggest risk for me was to paint the big rock because I was so scared that I was going to mess it up since I had painted the sky and the ocean so well. But I painted it and at first I was still unsure of what it looked like but after tips from my classmates and teacher, I was able to make it more realistic looking. By asking for feedback, I was able to make my painting look better so I am glad that I did that. One thing I also learned is to always step back from afar and examine your work because the perspective will change the way you see the painting. Overall, I thought that the painting was not going to turn out very well but it turned out better than I had expected and I am glad I got to learn new techniques while accomplishing this project. 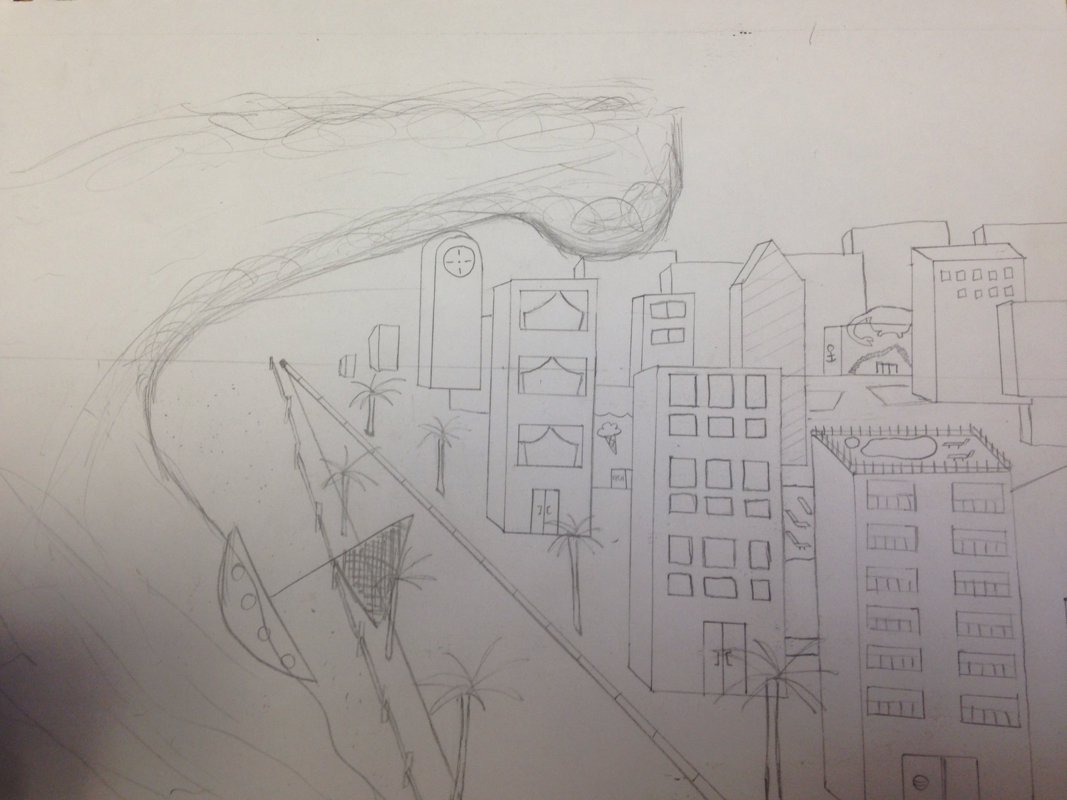 This is the sketch that I drew for my one point perspective drawing. I came up with the idea of a tsunami wave going over the city because I love those kinds of movies where it has a survival theme. This idea came from the movie called "The Day After Tomorrow." So I guess that was my "inspiration" for drawing this piece. This drawing is unique because I made the city be near the beach while the one in the movie was in New York City. In this project, I learned a new technique which is are perspective drawings. I learned that perspective drawings are a technique used to represent three-dimensional images on a two-dimensional picture plane. I enjoyed learning this new technique because I now know how to draw things into perspective. This sketch was drawn in only one point perspective. From this project, I was able to learn how to represent the way that objects appear to get smaller and closer together, the further away they are. 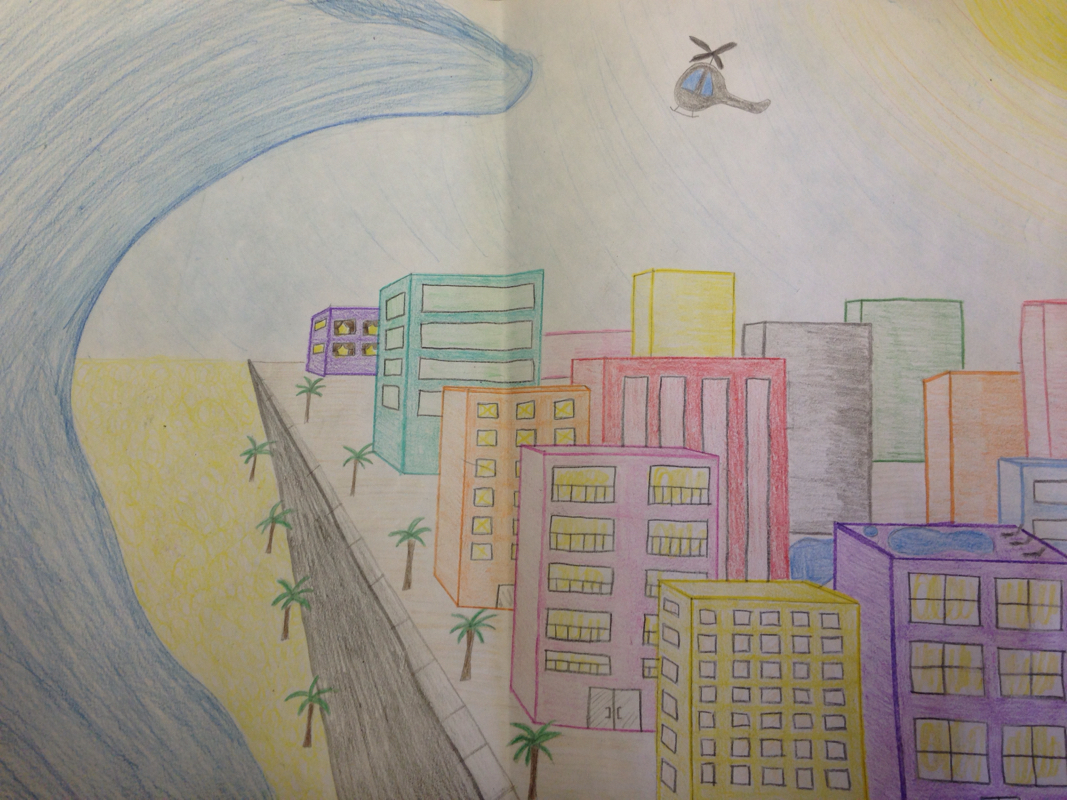 This is my final product. I think I could have added a little bit more detail to the buildings but I didn't have enough time to. My sketch was very more detailed than my final one and I forgot to but the sail boat in the tsunami wave to make it seem more 'dynamic.' I think the palm trees made it look 10484x more beachy and helped the theme of the drawing. I made the colors very colorful in an effort to make it more warm and summer like. The art of the project that took the most time and what I did not enjoy was the coloring. It was a lot of coloring and it got tiring after a while. A tool I used was technology to find references on what I was going to draw for this project. Overall I enjoyed learning perspective and I think it will benefit me in the future. 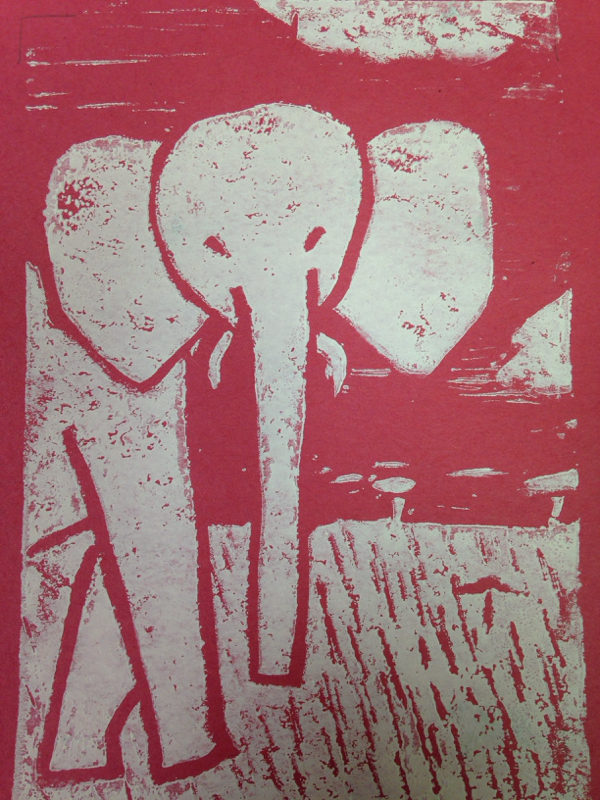 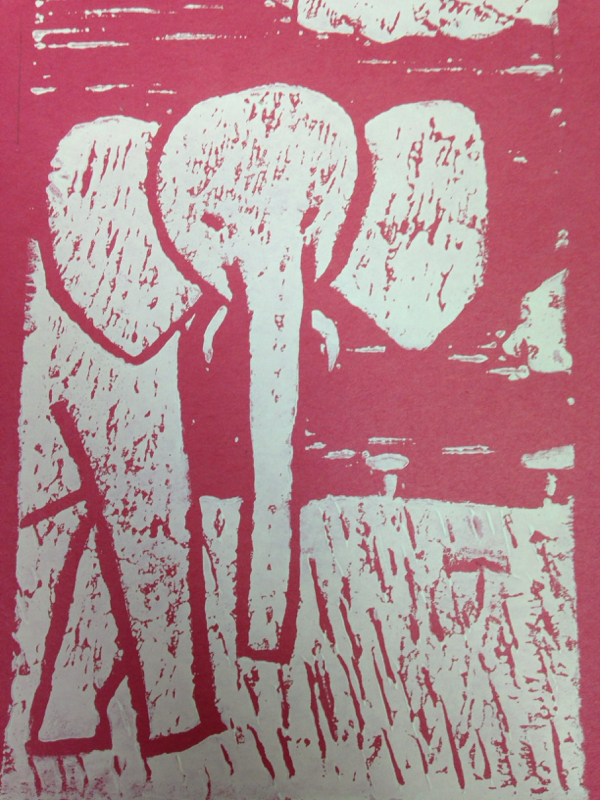 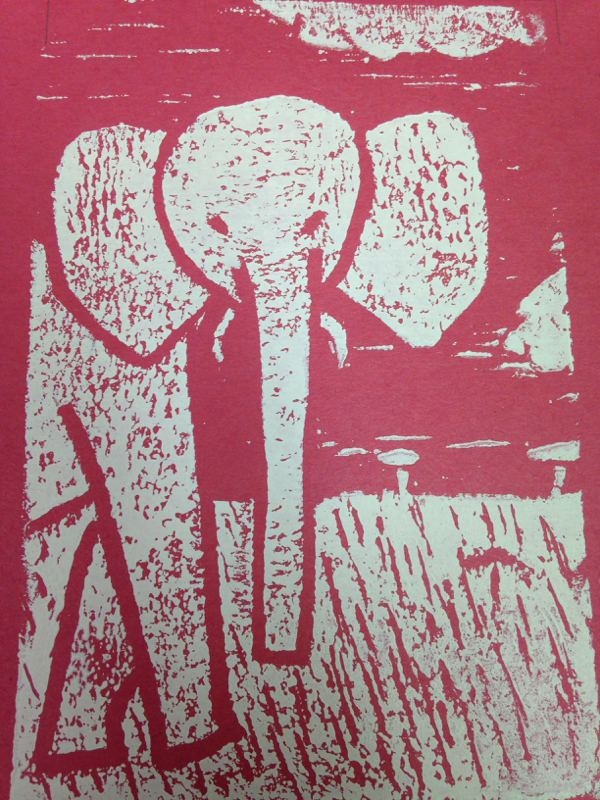 In this project, I learned how to use a manny different tools which was the most interesting/fun part while doing this project. First I drew a draft of what I was going to make a print of, which I decided for it to be an elephant. Then, I copied it onto a piece of linoleum with pencil. I used a gauging cutter tool to cut out strips along the elephant and the background of the linoleum. The next step included using a bench hook and a braire. We put the ink on the bench hook and then rolled it until it sounded "sticky." I then used the braire to get the ink on the linoleum. Then, making sure I put registration marks on my paper, I filled the linoleum onto it. The next step was to flip the paper and use a technique called burnishing in order for the ink to apply it evenly and hopefully not get any ink in the cut out pieces. Burnishing is when you rub it in circles. After burnishing, I just took the paper off and I made a print! I practiced this a couple times before making these final products. Overall, I think I could have cut out more lines in an effort to give the elephant more texture but I don't think it looks too bad. My favorite part of this project was being able to be introduced to these new techniques. 
This piece was inspired by the French artist Henry Matisse. This portrays and depicts his art from 20th century. He was known for printmaking and collage along with other types of art. In this piece, I had used my sketch from my previous post, traced it, and then outlined it with tracing paper. This part was very boring and I did not enjoy it because I had to retrace it three times and I don't really have much patience for that. When doing this project, I learned new techniques/processes such as using the precise carving tool to cut out each shape. The technique I learned was how to cut out shapes on black paper so that I would later be able to put it on white paper. This project definitely helped me gain skill when using this tool. Overall, I am very proud of the outcome and how it turned out. I think all the time I put into making this as creative and challenging as I can definitely payed off.
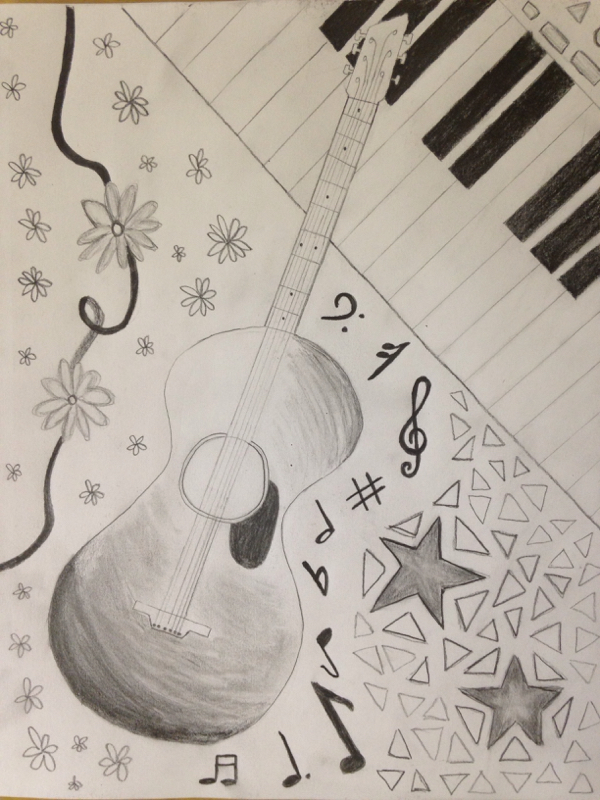
What inspired me to draw this was the combination of pop/rock music and a little bit of the country America. The guitar symbolizes pop music and the keyboard symbolizes rock music. I used the stars to represent both rock music and America. The flowers presented a more softer type of music unlike rock; which was pop. The most challenging part of this sketch was to shade and add value to all the figures, especially the guitar. I had not been sure where to put the light source so I just decided to make it darker on the outside and lighter going toward the center. When I finished the design, I was excited to be able to translate it into the tracing paper and then later be able to cut it out on the black paper.
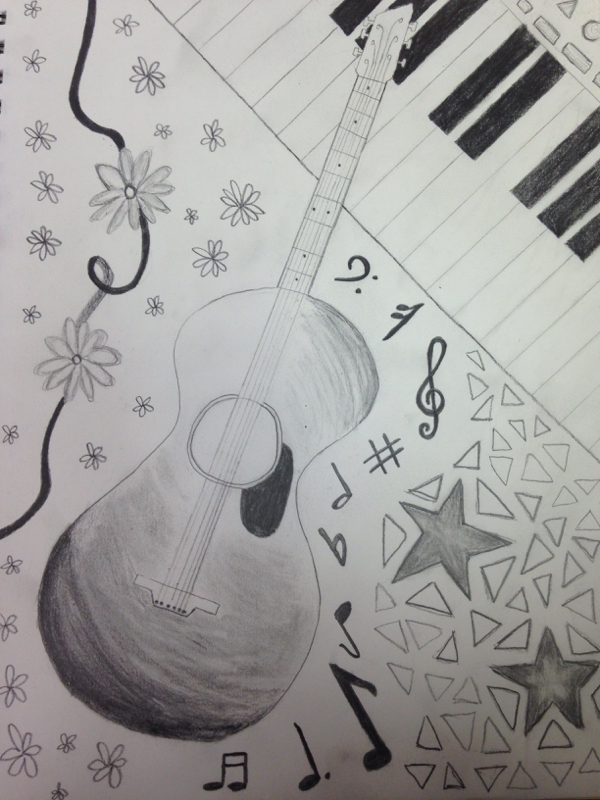
It was difficult for me to come up with what to draw for this sketch but once I started thinking about the genres pop/rock and America, it was easier to draw and represent those things. I used flowers and the guitar to represent pop music. And I used an electronic keyboard at the top right of the paper to represent rock music. The stars symbolize both rock music and America. And I also added musical notes to add to the theme of music. The hardest part for me, I think, was shading the guitar because I wasn't sure where to put the light source and how I was gonna portray it so I just made the outside dark and gradually made it lighter when getting to the center. Overall, it was fun drawing this sketch because I enjoyed being able to put different themes together into one piece of art.
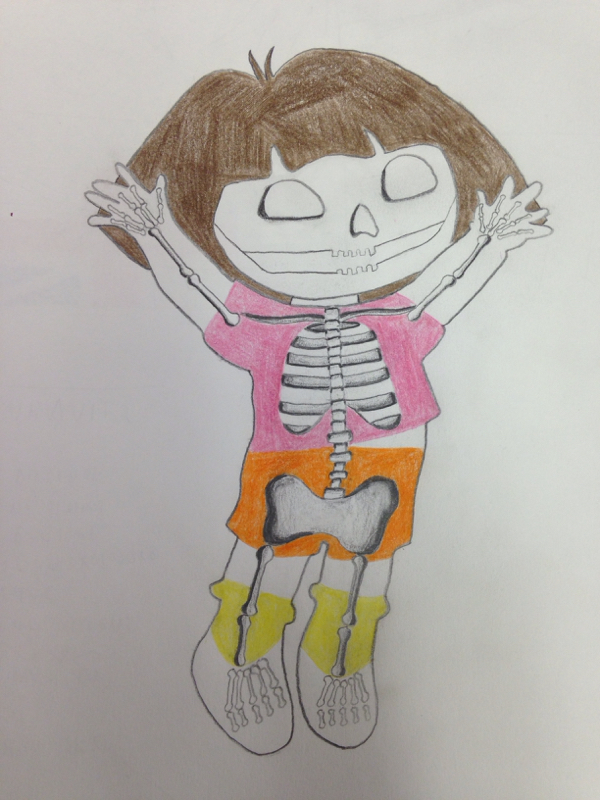
I got the idea of drawing Dora as my cartoon because that is my baby sister's favorite show. And it was a little bit more original than everyone else's in the class because no one would have thought to do Dora for their drawing. It was fun tracing Dora and then being able to draw bones inside the outline. It was a bit challenging drawing the ribs and making them symmetrical. The shading wasn't as difficult because I made sure that the bones were dark on the outside and gradually getting lighter getting toward the center. When coloring, I decided to leave the skin white and I drew Dora's clothes.

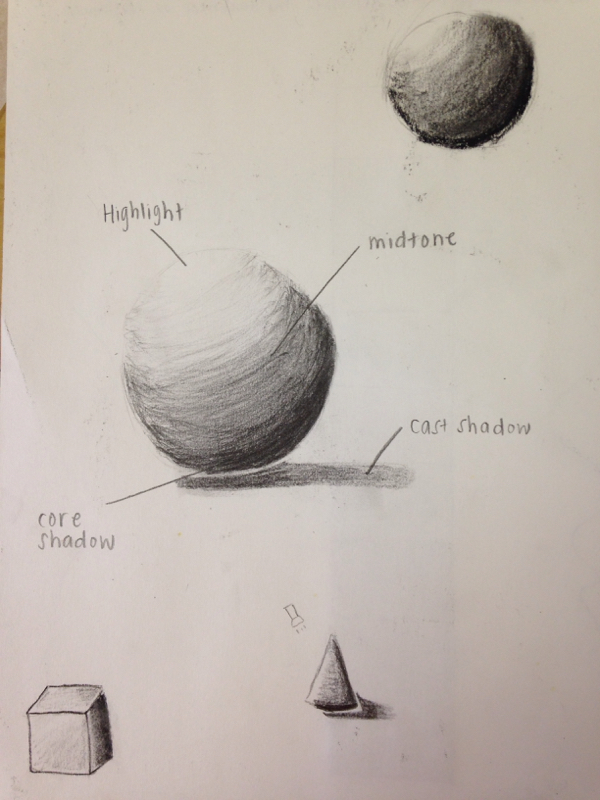
Here are my first attempts at shading figures. It takes a really long time to try and make the lead precisely gradual go from light to dark. After shading a shape with a pencil, I tried shading a sphere with coal and I really liked it because, 1. It takes less time to shade and 2. It is really easy to blend the coal.
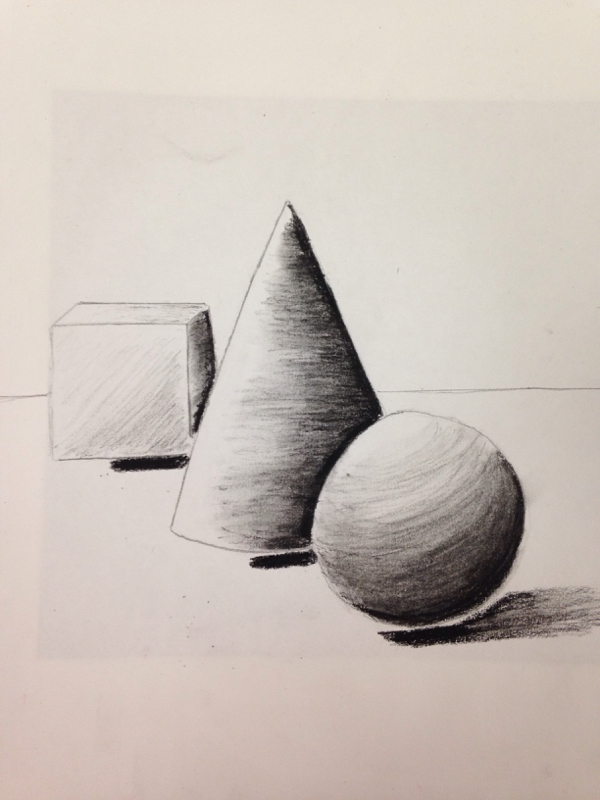
In this project, we had to overlap these three shapes. I have learned how to make a shape look alive and real rather than just flat because now I know that light and shadows can visually define an object. Values are the different shades of gray between white and black. I used values to translate the light and shadows that I see into shading, creating the illusion of a third dimension.
|
Archives
June 2017
Categories |
 RSS Feed
